Introducing Jekyll Blogging Engine
In this post we’ll be discussing Jekyll, a popular blog engine that is very powerfull and easy to use.
Installing
You need to install Jekyll through a gem
gem install jekyllCreating a blog
Creating a blog is as simple executing the following command:
jekyll new myblogThis will create the folder structure and files needed to setup the blog. Consider this the source code for your blog. By building it, you can generate the necessary static content so that it can be hosted as your blog.
Basic blog features
- adding posts
- code highlights
- themes
- tags
- post excerpts
- drafts
- publishing
- search
- comments
- rss feeds
Adding posts
In order to add posts, we need to create a text file in the _posts folder.
ls -ltr _posts/

-rw-r--r--  1 ddewaele  staff  1221 Sep 14 07:18 2015-09-13-welcome-to-jekyll.markdown
-rw-r--r--  1 ddewaele  staff  2442 Sep 14 07:18 2015-09-12-helloworld.md
-rw-r--r--  1 ddewaele  staff  1257 Sep 14 14:15 2015-09-14-removing-branches-in-git.markdown
-rw-r--r--  1 ddewaele  staff  1773 Sep 14 20:02 2015-09-14-setting-up-a-nodejs-server.markdown
Each post should have a proper YAML Front Matter.
Code highlights
Code highlights using pygments are delivered out of the box.
Simply use the proper highlight and endhighlight placeholders
Themes
Complete this.
Tags
Complete this.
Post Excerpts
Post excerpts allow you to define a sneak preview of the content in your posts. By default Jekyll doesn’t show them so you’ll need to add them to your index.html like this :
<ul class="post-list">
    {% for post in site.posts %}
      <li>
        <span class="post-meta">{{ post.date | date: "%b %-d, %Y" }}</span>

        <h2>
          <a class="post-link" href="{{ post.url | prepend: site.baseurl }}">{{ post.title }}</a>
          <span class="post-meta">{{ post.excerpt }}</span>
        </h2>
      </li>
    {% endfor %}
  </ul>
by default an excerpt is the first paragraph of the post, but you can customize this behavior.
Deploying
In this section we’ll go over deploying your blog to Github pages.
There are 2 kinds of GitHub pages
- Project pages
- User pages
We’ll first go over project pages.
In order to publish to a project page we need to do the following steps :
- Create a new gh-pages branch
- Put your jekyll code-base on the gh-pages branch
- push it to github
As can be seen in the screenshot below, a jekyll blog can be hosted by Github very easily :
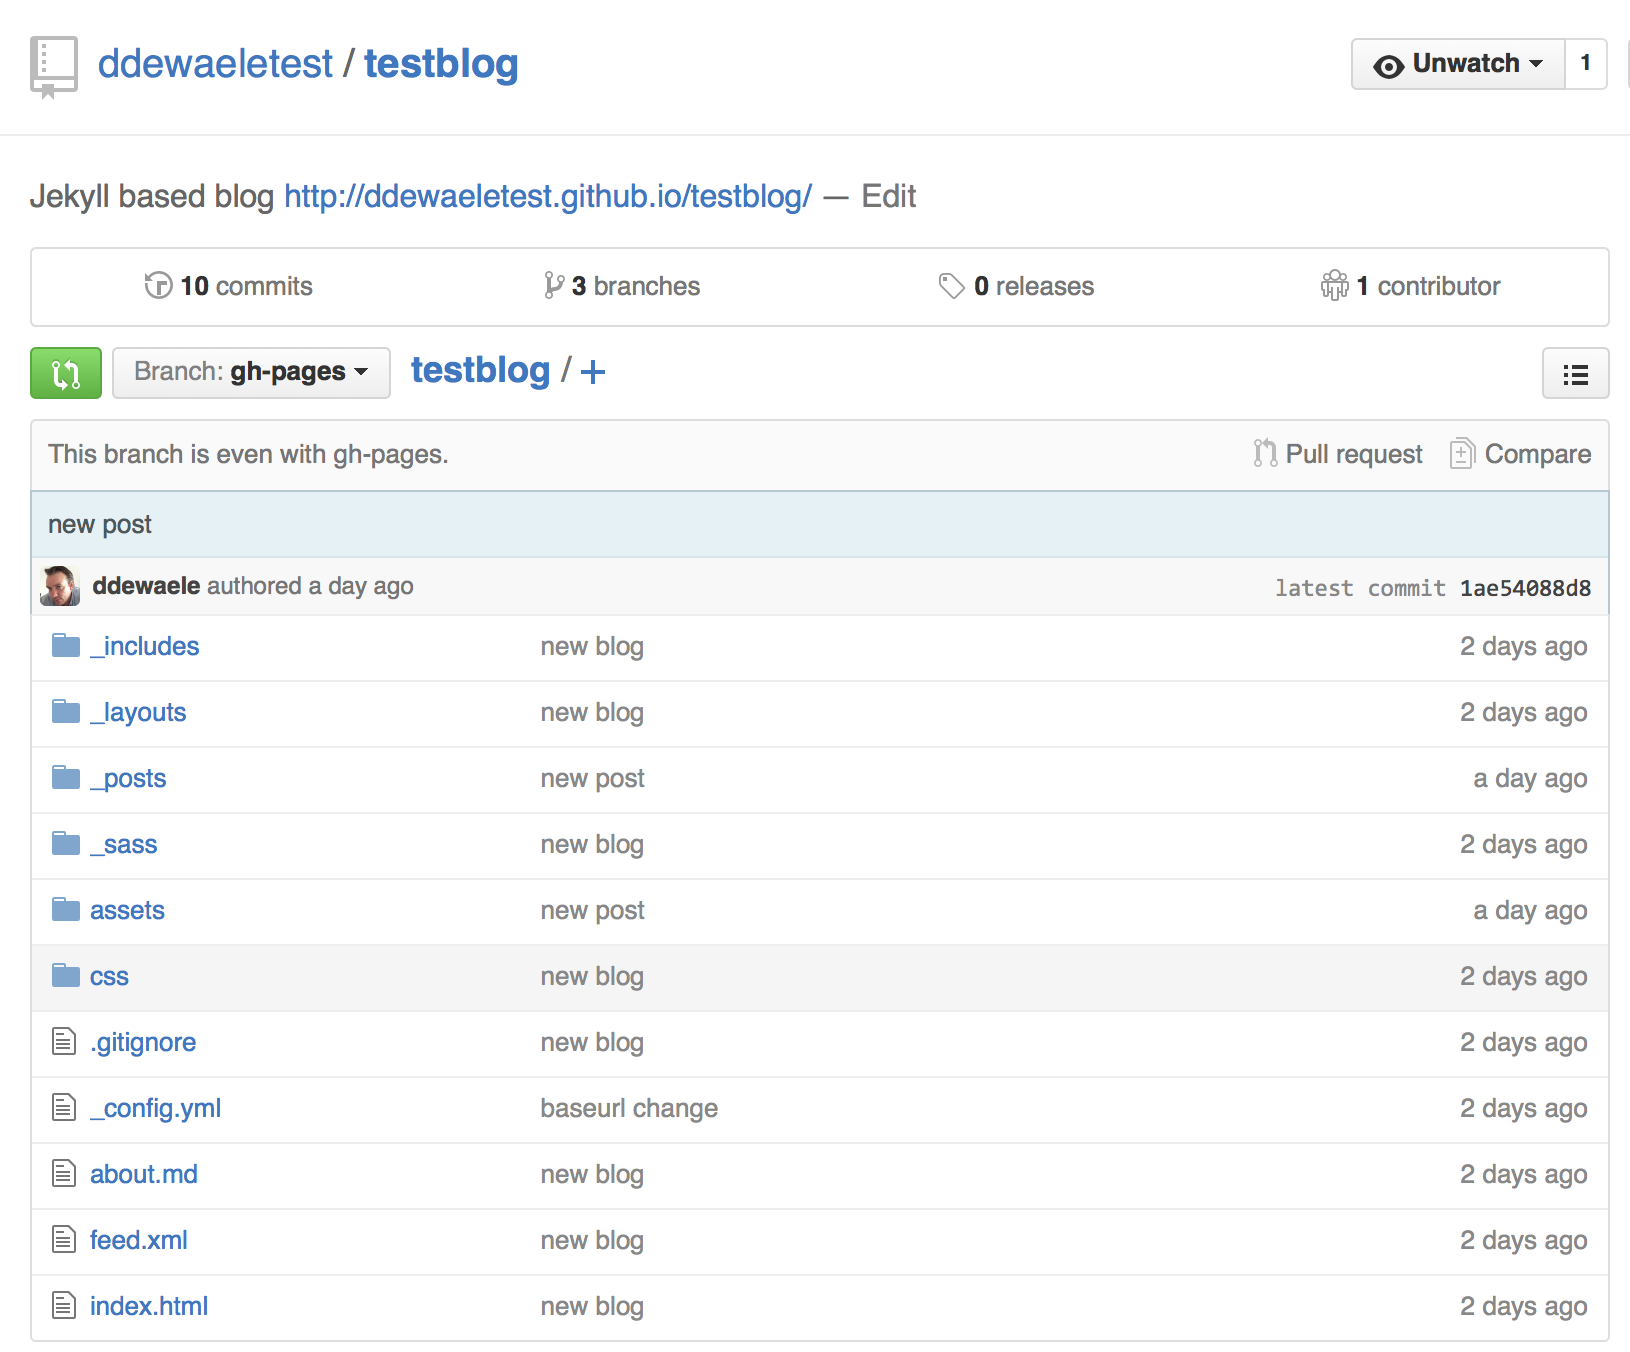
All it takes is to upload all of your jekyll pages to a special gh-pages branch and Github will take care of the rest.
gem install github-pages
Themes
We can easily customize the look and feel of our site by configuring templates.
The Solar theme for Jekyll is a nice-looking theme so let’s thake a look at howto install it.
We can clone the entire repo and start a new blog, but to apply this theme to an existing blog you’ll need to copy the following files and folders:
cp -r ../solar-theme-jekyll/_layouts/* _layouts/
cp -r ../solar-theme-jekyll/index.html index.html
cp -r ../solar-theme-jekyll/feed.xml feed.xml
cp -r ../solar-theme-jekyll/assets/* assets/
References
- Great Jekyll introduction
- https://github.com/octopress/genesis-theme
- https://github.com/imathis/octopress/wiki/3rd-party-plugins
- https://www.justinrummel.com/migrating-from-octopress-2-to-octopress-3/
- https://github.com/vladigleba/readify
- https://github.com/github/pages-gem
- https://help.github.com/articles/using-jekyll-with-pages/
- https://help.github.com/articles/creating-project-pages-manually/
- https://24ways.org/2013/get-started-with-github-pages/
- http://mattvh.github.io/solar-theme-jekyll/
- https://github.com/mattvh/solar-theme-jekyll